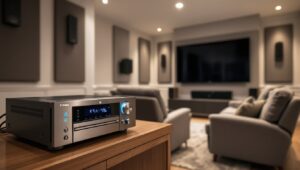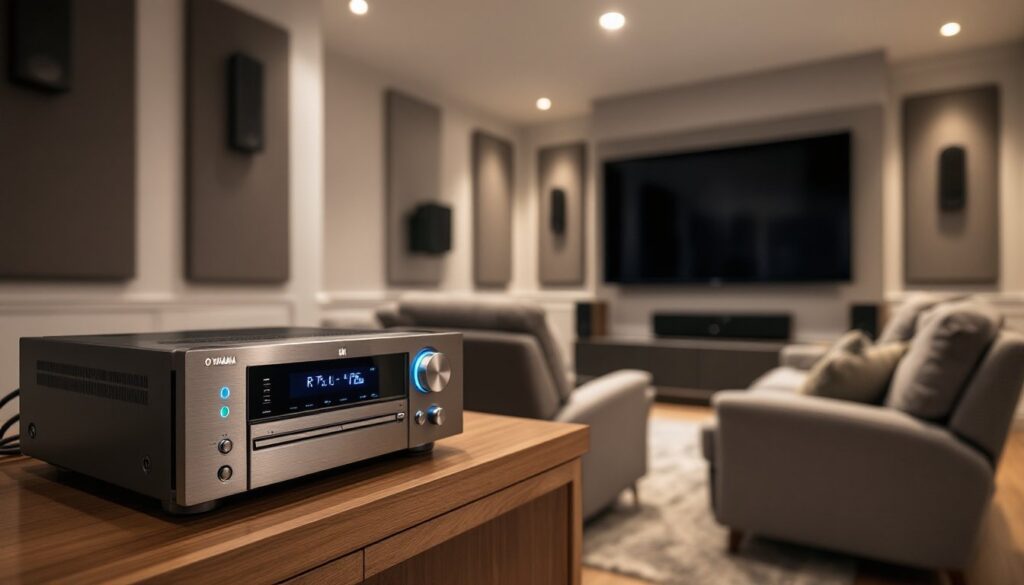

Building a home theater system doesn’t require expensive professional installation or cutting-edge engineering degrees. A solid Yamaha home theater receiver sits at the heart of any setup, handling audio processing, amplification, and connectivity for everything from movies to gaming to music. For DIY homeowners and home theater enthusiasts, choosing the right receiver can feel overwhelming with specs like wattage, channel counts, and surround sound formats flying around. This guide breaks down what matters when selecting a Yamaha receiver, explains key features without the jargon, and walks through practical installation tips so you can build a system that sounds great and works reliably for years.
Table of Contents
ToggleKey Takeaways
- A Yamaha home theater receiver handles audio processing, amplification, and connectivity as the foundation of your system, with 100 watts per channel across 5–7 channels sufficient for most rooms.
- Key specifications to prioritize include wattage and channel count (5.1 for entry-level, 7.1 or 9.1 for immersive audio), plus support for modern formats like Dolby Atmos, HDMI 2.1, and HDCP 2.2.
- Mid-range RX-A series Yamaha receivers ($600–$1,200) offer the best balance of performance, features, and value for DIY home theater builds.
- Proper speaker placement—with center speaker at ear level, front speakers 22–30 degrees off-axis, and surrounds 90–110 degrees from listening position—is critical for immersive surround sound.
- Use correctly gauged speaker cables (12–14 AWG), secure all connections firmly, and run YPAO auto-calibration followed by manual fine-tuning to maximize audio quality and reliability.
- Yamaha receivers stand out for their reliability, consistent performance across price points, strong customer support, and long-term value, making them an ideal choice for thoughtful DIY homeowners.
Why Yamaha Receivers Stand Out in the Home Theater Market
Yamaha has built its reputation in home audio by delivering solid performance at competitive price points. Their receivers consistently handle multi-channel surround sound, deliver clean amplification across room sizes, and integrate seamlessly with modern streaming platforms and gaming consoles. Unlike some competitors that market aggressively with flashy features, Yamaha focuses on reliability, which matters when you’re running a system several hours a day.
The brand’s strength lies in consistent product support, readily available replacement parts, and a user-friendly interface that doesn’t require a manual for every input swap. When comparing receiver options, Yamaha models typically offer good value for the power output and features you get. They also have strong customer support channels and online communities where DIYers share setup experiences. For homeowners planning a long-term investment, that reliability and community backing mean fewer headaches down the road.
Key Features to Look For in a Yamaha Receiver
Wattage, Channels, and Amplification Power
When shopping for a Yamaha receiver, you’ll see specs like “100W x 7 channels” or “150W x 9 channels.” That first number is watts per channel, the continuous power the receiver can deliver to each speaker at a given impedance (typically 8 ohms). The second tells you how many discrete audio channels it amplifies.
For most home theater rooms, 100 watts per channel across 5 to 7 channels delivers enough headroom for comfortable listening and dynamic movie peaks without strain. If your room is large (20+ feet across) or you like loud action sequences, 150+ watts per channel gives more breathing room. But, wattage alone doesn’t determine quality, a well-designed 100W amplifier in a Yamaha often outperforms a poorly tuned 200W amp elsewhere. Room acoustics, speaker placement, and speaker sensitivity matter just as much.
Channels refer to speaker positions: left, center, right (front), plus left surround, right surround (side or rear), and subwoofer out (LFE). A 5.1 setup (5 speakers plus subwoofer) handles most content. 7.1 or 9.1 setups add rear and overhead channels for immersive object-based audio. Start with 5.1 if you’re new to home theater, it’s simpler to install and calibrate, and you can expand later if the receiver supports processing for extra channels.
Audio Processing and Surround Sound Technologies
Yamaha receivers support modern surround formats like Dolby Atmos, DTS:X, and conventional 5.1/7.1 surround. Atmos and DTS:X use height speakers (ceiling-mounted or upward-firing) to create a three-dimensional soundscape where effects move overhead. If you’re building a future-proof system or have the ceiling space, a receiver with Atmos support is worth the small premium.
Look for HDCP 2.2 and HDMI 2.1 support on inputs, these handle 4K video passthrough and higher frame rates needed for newer gaming consoles and 4K Blu-ray players. Most current Yamaha models include this, but it’s worth confirming if you’re buying used or refurbished units. Network connectivity (Ethernet or Wi-Fi) lets the receiver stream music, receive firmware updates, and integrate with smart home systems. Audio upconversion features (like Yamaha’s YPAO room calibration) automatically adjust levels and distances based on your actual speaker positions, saving you manual tweaking.
Popular Yamaha Receiver Models for Home DIY Projects
Yamaha’s current lineup offers options across budget tiers. The RX-V series includes entry-level models (often 5.1 channels, 70–100W per channel) suitable for smaller rooms or first-time setups, these typically run $300–$500 and handle standard streaming and TV duties well. Mid-range RX-A series receivers ($600–$1,200) bring 7-channel configs, full Atmos support, and refined amplifier design. They’re the sweet spot for most DIY home theater builds because they balance performance, features, and cost.
Higher-end models (like the RX-A3000 series and above) add preamp outputs, balanced XLR connectors for professional integration, and more robust power supplies, these suit setups where you’ll add external amps or plan significant expansion. Comparing across this range, the best AV receivers for 2024 typically feature Yamaha models across multiple categories, validating that the brand delivers competitive performance. When deciding, match the channel count and wattage to your room size and content preferences rather than defaulting to the most expensive model.
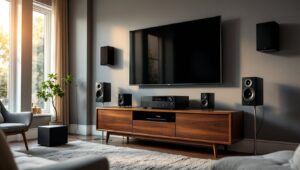
Setup and Installation Tips for Your Home Theater System
Before plugging in your Yamaha receiver, plan your speaker layout. Measure your room and identify where the center speaker (ideally at ear level when seated) goes, usually on a TV stand or mounted above/below the display. Front left and right speakers belong at roughly 22–30 degrees off-axis from the center seating position. Surrounds mount on side walls 90–110 degrees from center listening area, about 1–2 feet above ear level. Don’t skip this step: improper placement kills surround immersion.
Run speaker cables in raceways or conduit along walls to keep things clean and safe, loose cables are tripping hazards and can pick up electrical noise. Use properly gauged speaker cable (typically 12–14 AWG for runs under 50 feet) and don’t scrimp: cheap cable introduces resistance that dulls clarity. Strip about ½ inch of insulation, twist the strands, and secure firmly into the receiver’s binding posts, loose connections cause crackling and dropouts.
Connect your HDMI sources (TV, streaming boxes, game consoles) to the receiver’s HDMI inputs, then run one HDMI cable from the receiver’s main output to your TV. This lets the receiver control video switching and audio extraction. If your TV supports ARC (Audio Return Channel), enable it, this sends TV audio back to the receiver for surround processing without a separate optical cable.
After everything is wired, run the YPAO auto-calibration. Place the microphone (included with most models) at your main listening position, and the receiver measures distance, level, and frequency response, adjusting speaker levels and delay times. Don’t rely solely on auto-calibration for final tweaking, follow up with manual fine-tuning of surround levels and subwoofer crossover (typically 80 Hz works well), but YPAO saves huge amounts of trial-and-error.
Burn-in isn’t strictly necessary like it was for older gear, but running the receiver for a few hours before critical listening lets the amplifier stabilize and sounds its best. Keep the receiver in a well-ventilated space with at least 4 inches of clearance on all sides to prevent thermal stress. Best AV receivers reviewed by reputable sources demonstrate that proper setup and placement matter more than raw specs, even a mid-range Yamaha shines when installed thoughtfully.
Conclusion
Selecting a Yamaha home theater receiver boils down to matching wattage and channel count to your room, confirming support for modern audio and video formats, and committing to careful setup and calibration. Whether you’re upgrading an existing system or building from scratch, a Yamaha receiver provides a reliable foundation that won’t become obsolete quickly. Take time with speaker placement, cable runs, and calibration, that effort pays dividends in picture-perfect surround sound and years of trouble-free operation. Your home theater investment deserves a quality receiver, and Yamaha’s track record makes it an easy choice for the thoughtful DIYer.